Iron Nest Heavy Turret Simulator Endings: Community Uncovers Four Distinct Conclusions
Players have recently reported discovering four distinct endings in Iron Nest: Heavy Turret Simulator. We analyze how your firing solutions and tactical choices might shape the campaign's final outcome.
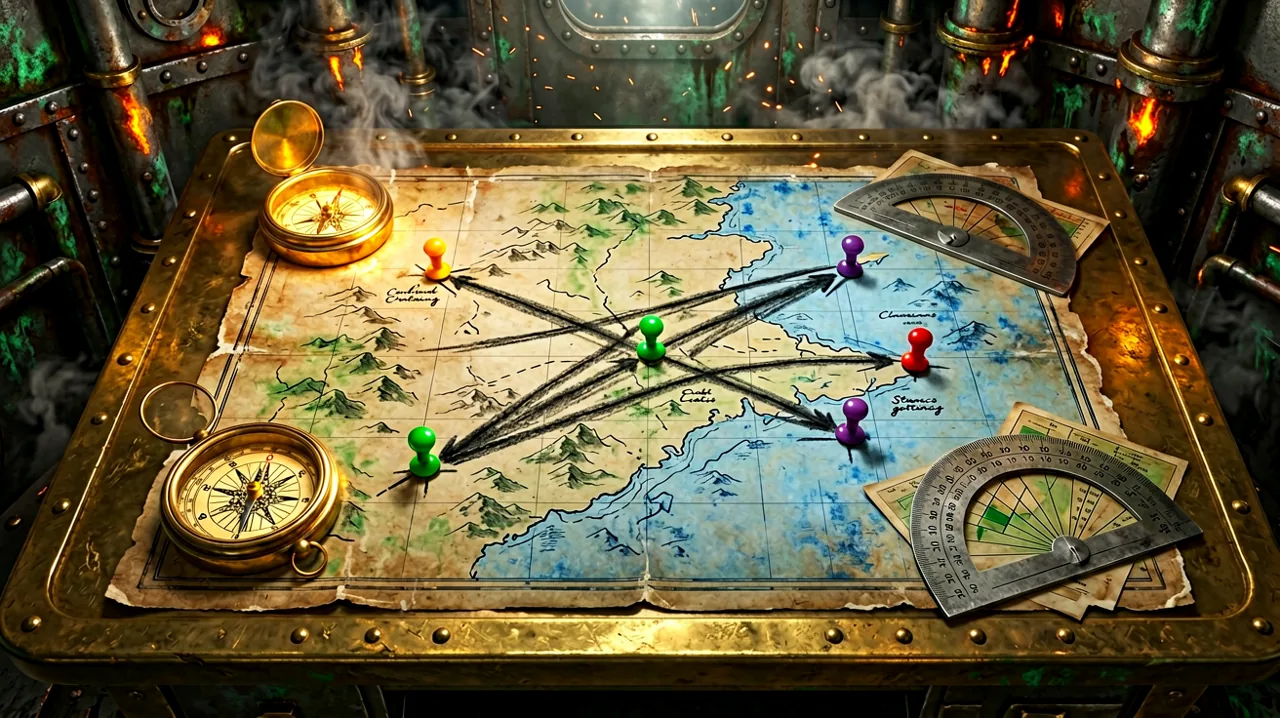
When IRON NEST: Heavy Turret Simulator launched last month, the operator’s primary focus was mastering the immense mechanical complexity of a 5,000-ton fixed artillery piece. The tactile chaos of manually loading massive shells, adjusting elevation wheels, and calculating windage in a grim, dieselpunk alternative-history Spanish battlefield provided an intense, isolated experience. However, as the dust settles on the initial wave of deployments, the community has begun to look beyond the immediate destruction. A recent breakthrough on the community subreddits has revealed something fascinating: the war does not end the same way for every operator.
According to recent community reports, IRON NEST features four distinct endings. This revelation adds a profound layer of narrative depth to a game that, on the surface, appears to be strictly about executing pre-determined firing solutions. If you are preparing to step back into the commander’s seat to uncover these hidden conclusions, here is an analysis of the branching paths within this heavy artillery simulator.
The Discovery of the Four Endings
The discussion surrounding the game’s multiple conclusions gained significant traction following a recent community thread detailing the existence of four separate endings. For a title initially categorized as a strict heavy turret simulator, the presence of multiple narrative outcomes suggests that the developers at the two-person indie team have woven a complex tapestry of choice into the rigid structure of military obedience.
Currently, the exact, step-by-step triggers for all four endings remain community-reported and are not yet fully confirmed by official documentation. Operators across the globe are pooling their data, comparing end-of-mission debriefings, and analyzing their tactical choices to map out the definitive requirements for each conclusion. What is evident, however, is that your role in the iron nest extends far beyond merely pulling the trigger when ordered.
The existence of these branching paths recontextualizes the entire campaign. It transforms the experience from a linear series of target practice scenarios into a dynamic battlefield where your interpretation of orders—and your accuracy in executing or defying them—carries immense weight.
The Burden of Command and Tactical Chaos
From early hands-on previews, critics and players alike noted the underlying theme of “heavy conscience” and the tension between blind obedience and tactical autonomy. You are isolated in a massive steel structure, receiving coordinates from a command chain that may not have the full picture—or worse, may have ulterior motives in this bleak dieselpunk universe.
Community theorists strongly suspect that the four endings are intimately tied to this theme. Do you unquestioningly bombard every grid coordinate fed to your command console? Or do you take the time to cross-reference those coordinates with intercepted intelligence and the topographic reality of the battlefield? It is reportedly possible that at least one of the endings requires the operator to intentionally sabotage a firing mission by utilizing incorrect elevation data, thereby sparing a questionable target while masking the act as a calculation error.
Another theory suggests that the endings hinge on secondary objectives hidden within the fog of war. Discovering these objectives requires a masterful command of the observation equipment. Instead of rushing to load the breech, players might need to spend crucial minutes scanning the horizon, identifying unmarked convoys, or protecting allied retreats that command has deemed expendable.
Mastering the Instruments for Different Outcomes
Unlocking the varying conclusions will undoubtedly test your mechanical mastery of the turret. If the endings require striking highly specific, unmarked targets—or deliberately missing standard targets by a precise margin to avoid court-martial—your understanding of the game’s ballistics must be flawless.
To manipulate the battlefield outcomes, operators will need to rely heavily on the tactical map and intelligence reports. You cannot simply input the numbers; you must understand what those numbers represent on the ground. We highly recommend reviewing our detailed guide on reading the tactical map to ensure you are interpreting grid references and wind patterns correctly. Misreading a single contour line could mean the difference between triggering a secret ending and accidentally causing collateral damage that locks you into a less desirable conclusion.
Furthermore, precision is everything. If you are attempting to thread a high-explosive shell between civilian infrastructure to hit a hidden munitions dump, your calculations must be absolute. Ensure your fundamentals are solid by revisiting the ballistic calculator guide. The margin for error in these branching narrative paths is expected to be incredibly slim, mimicking the unforgiving nature of manual artillery operation.
Ammunition Types and Target Priority
While the exact requirements are still being tested, the diverse arsenal available in the turret’s magazine likely plays a significant role in how missions are resolved. IRON NEST features a variety of shell types, including Armor-Piercing (AP), High-Explosive (HE), Smoke, Incendiary, and Illumination rounds.
It is highly probable that achieving specific endings requires creative, non-standard use of this ordnance. For instance, command might order the complete destruction of a heavily fortified bunker using AP and HE shells. However, if intelligence suggests that allied prisoners are held in an adjacent facility, operators might theoretically secure a different narrative outcome by utilizing Smoke rounds to blind the enemy defenses, allowing an unseen ground force to advance without leveling the entire sector.
Alternatively, utilizing Illumination rounds over specific quadrants during night operations might reveal hidden enemy movements that alter the context of the mission entirely. Operators are encouraged to familiarize themselves with the intricacies of the magazine via our comprehensive ammunition guide to prepare for these high-stakes tactical decisions.
Challenge Modes and Replayability
Beyond the primary campaign, players are also investigating whether the game’s various challenge modes intersect with the main narrative endings. The developers have designed these modes to push the limits of an operator’s multitasking and calculation speed under severe duress. It remains a community-reported theory that securing specific accolades or surviving certain endurance runs might provide vital intelligence—or perhaps a crucial mechanical override code—that influences the core campaign’s conclusion.
If you are struggling to maintain the pace required for these advanced scenarios, you might want to review the available challenge modes documentation. Understanding the extreme edge cases of turret operation not only prepares you for the toughest achievements but also sharpens the instincts necessary to execute the pinpoint, unconventional strikes that the hidden endings likely demand. The replayability of IRON NEST has suddenly skyrocketed; it is no longer just about achieving the Gold Medal rating on a mission, but about dissecting the very fabric of the war you are participating in.
The Impact of the Mid-Mission Save System
Hunting for multiple endings in a game known for its lengthy, methodical missions can be a daunting prospect. Fortunately, the recent deployment of Patch 6, which introduced the highly anticipated mid-mission save system, has fundamentally altered how players can approach this endeavor.
Prior to this update, testing a theory about a branching narrative path meant committing to the entire duration of a mission—and sometimes the campaign—making trial-and-error a grueling task. Now, operators can create strategic save points just before critical bombardments. This allows for rigorous testing of different firing solutions and target priorities without the penalty of starting from scratch.
If you reach a pivotal moment in the campaign where you suspect a choice will lock you into one of the four endings, make sure to secure your progress. This quality-of-life improvement is instrumental for those utilizing a controlled testing method to document the exact triggers for the community wiki.
The Road Ahead for the Community
The discovery of four endings in IRON NEST: Heavy Turret Simulator breathes new life into the ongoing war effort. It challenges operators to look past the grease, the heavy brass levers, and the deafening roar of the main gun, and focus on the consequences of their calculations.
As the community continues to untangle the requirements for each conclusion, we expect to see a surge in collaborative mapping and shared firing data. We will continue to monitor these developments and will update our database with a definitive, step-by-step walkthrough for each ending once the mechanics are fully verified. Until then, keep your instruments calibrated, question your coordinates, and remember that in this dark alternative history, the heaviest burden isn’t the shell—it is the choice of where it lands.