Iron Nest Global Launch Times Announced: The Ultimate Pre-Deployment Checklist
With Iron Nest: Heavy Turret Simulator's global launch times confirmed for August 6th, here is everything operators need to prepare for day one deployment.
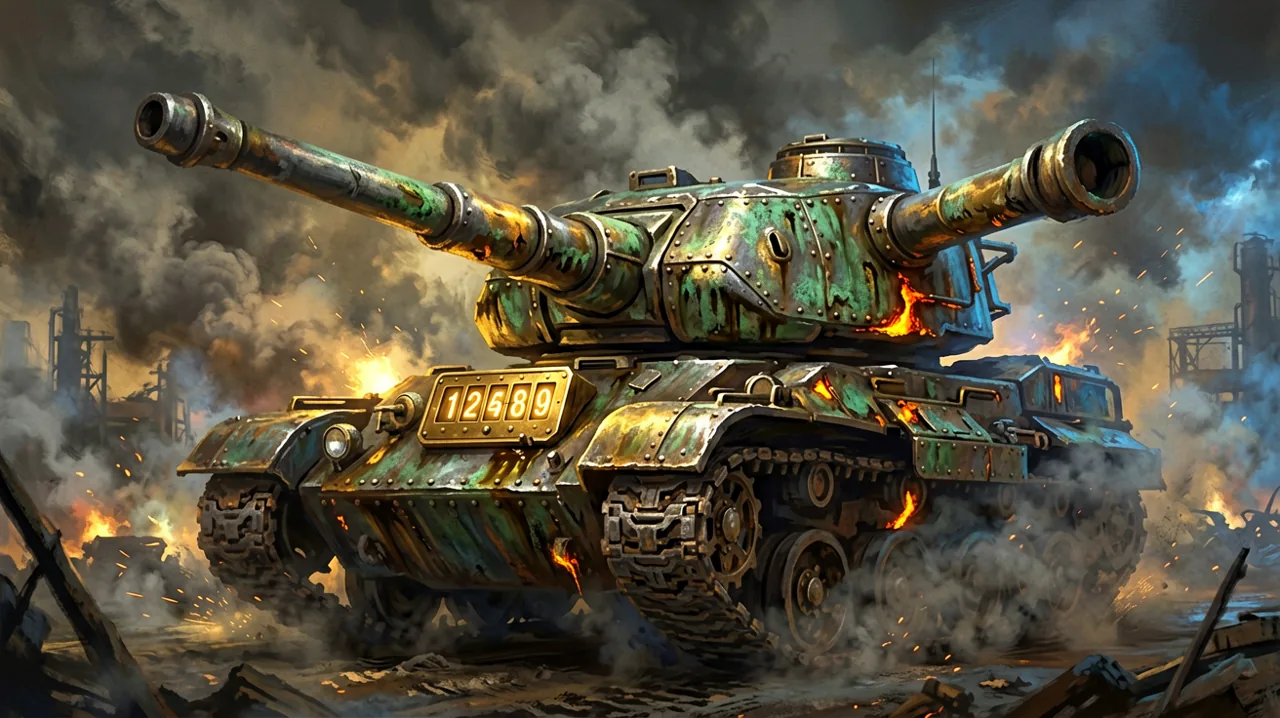
High Command Has Issued the Final Order
The waiting is nearly over. For months, virtual artillerists have been studying trajectories, pouring over brass dials, and familiarizing themselves with the immense weight of a 5,000-ton fixed gun. Today, developers Nick Nieuwoudt and Dominik Latos have officially announced the global launch times for IRON NEST: Heavy Turret Simulator. The drills have concluded, and the true test begins on August 6th.
According to the latest dispatch from the frontlines via the official Steam News page, High Command has locked in the deployment schedule. The developers noted with grim military flair: “Operators, synchronize your pocket watches and prepare to report for duty at the appointed hour. Months of preparation have led to this moment. The fate of Castile now rests in your hands.” And, in true dieselpunk fashion, they added a stern warning: “Failure to report on time will not be tolerated… Late arrivals will be rewarded with reassignment to the infantry.”
While players around the globe are checking their respective time zones to ensure they are at their stations the moment the game unlocks on Steam, now is the ideal time to review the fundamentals. IRON NEST is not a forgiving arcade shooter; it is a hardcore, immersive sim that demands patience, precision, and an unyielding attention to detail. Operating a massive artillery battery requires more than just pulling a trigger. To ensure you do not end up in the infantry on day one, we have compiled the ultimate pre-deployment checklist.
Phase 1: Mastering the Machinery and Loading Sequence
Before you even think about engaging enemy targets in the gray, alternative-history Spanish battlefield, you must understand the environment you inhabit. The turret is a colossal machine, a claustrophobic steel nest filled with grinding gears, hissing hydraulics, and heavy brass levers. Operating it is a highly tactile experience.
The loading sequence alone is a multi-step mechanical process that operators must perform manually. When the order comes down, you cannot simply press a button to load a shell. You must operate the ammunition hoist, secure the massive projectile into the loading tray, ram it into the breech, and lock the massive steel door. Doing this efficiently under the pressure of incoming fire is what separates a green recruit from a veteran gunner. The machinery is reportedly unforgiving; push a hydraulic lever too fast, and you might cause a mechanical jam or vent dangerous steam into the crew compartment.
For those who participated in the Steam Next Fest, these mechanics will feel familiar, but the stakes in the full campaign will be significantly higher. If you need a refresher on the tactile chaos of the loading bay, reviewing our demo walkthrough is a highly recommended starting point to get your hands mentally prepared for the heavy metal lifting.
Phase 2: Perfecting the Firing Solution
You have loaded the gun, but where are you pointing it? In IRON NEST, generating a firing solution is the core intellectual challenge of the game. You are not pointing a crosshair at a pixelated enemy; you are calculating math against the laws of physics.
When an enemy position is reported, the operator must first use the integrated brass rangefinder to determine the exact distance. However, distance is only one variable. You must account for wind direction, wind speed, atmospheric pressure, and the specific ballistic properties of the shell you are firing. All of these factors must be inputted into the targeting computer—a mechanical, analog beast of rotating dials and notched gears.
You will spend a significant amount of your time staring at conversion charts and adjusting the elevation and azimuth of the gun barrel. A miscalculation of even a few degrees could result in a shell landing harmlessly in the mud—or worse, detonating atop a friendly infantry column. The pressure to calculate these firing solutions quickly as enemy forces advance is immense. We expect the full release to feature even more complex weather variables, so studying our ballistic calculator guide will ensure you understand how to read the analog instruments before the global launch sequence initiates.
Phase 3: Ammunition Logistics and Tactical Selection
With up to 30 expected shell types available in the final release, simply hitting the target is only half the battle; hitting it with the appropriate payload is what wins the war. The game’s deep logistical mechanics require you to manage your munitions carefully, as heavy artillery shells are not infinite, and waiting for the hoist to bring up the wrong shell can cost you precious minutes.
Operators must familiarize themselves with the various tactical applications of their arsenal. Armor Piercing (AP) shells are heavy, solid kinetic penetrators designed specifically to crack heavy enemy bunkers or halt advancing armored columns. However, firing an AP shell at scattered infantry is a massive waste of resources. For soft targets, High Explosive (HE) is the standard choice, relying on the blast radius and fragmentation to suppress enemy troop movements.
Beyond the standard explosive rounds, you will also be tasked with shaping the battlefield. Smoke shells can be deployed to blind enemy spotters and protect allied movements, while Incendiary rounds can deny entire sectors of the map to the enemy. Illumination rounds will be critical for night operations, requiring precise timing to light up the battlefield just as your spotters need visual confirmation. Understanding the intricacies of the ammunition hoist and the specific use-cases for each shell is critical for survival. Our comprehensive ammunition guide breaks down the expected variants and how to optimize your supply lines.
Phase 4: Tactical Awareness and Map Reading
You are stationed inside a massive steel nest, effectively blind to the outside world save for your periscopes and targeting optics. This isolation makes the tactical map your most vital tool for understanding the broader flow of the battle.
The map in IRON NEST is a sprawling, worn piece of parchment spread across your command table. It requires manual interpretation of grid coordinates, terrain elevations, and radioed intelligence reports. You will receive updates from forward observers and spotters who will relay enemy positions via radio chatter. It is up to you, the operator, to plot these coordinates using pins and compasses, translating raw data into a viable firing solution on the map before moving to the targeting dials.
Misreading a grid square or failing to account for the topographical elevation changes will ruin your shot trajectory. Understanding how to track enemy movements, anticipate their path, and establish pre-sighted kill zones on the map is the hallmark of a master gunner. The interface is completely diegetic, meaning there are no floating markers or minimaps to hold your hand. Familiarize yourself with the cartography and the grid coordinate system by reading up on reading the tactical map.
Phase 5: Ensuring Operational Readiness
Finally, before the global launch times tick down to zero on August 6th, you must ensure your personal command station—your PC—is ready to handle the intense physical simulations of the game. IRON NEST features complex, real-time physics calculations for every shell fired, alongside dense volumetric smoke effects, dynamic lighting from the heavy industry environment, and highly detailed mechanical animations inside the turret.
Calculating the trajectory of a massive artillery shell and rendering the concussive blast of a 5,000-ton cannon firing demands adequate hardware. A stuttering framerate while trying to input a crucial azimuth adjustment could spell disaster for your campaign. Check out the system requirements to verify your rig is prepared to run the simulator smoothly on day one.
The Fate of Castile Awaits
The announcement of the global launch times marks the end of the waiting period for one of the most unique simulation games of the year. The two-person development team has crafted an experience that is as much about the psychological weight of blind obedience as it is about the physical weight of heavy artillery.
When August 6th arrives, the sirens will sound, the brass dials will glow in the dim light of the turret, and High Command will expect results. Review your charts, memorize your loading sequences, and synchronize your watches. The drills are officially over.