IRON NEST Shell-Change Checklist
Ammunition switch, recalculation and gun-state verification
A complete operational checklist for changing shell type in IRON NEST without carrying stale charge, elevation, target or loading state into the next shot.
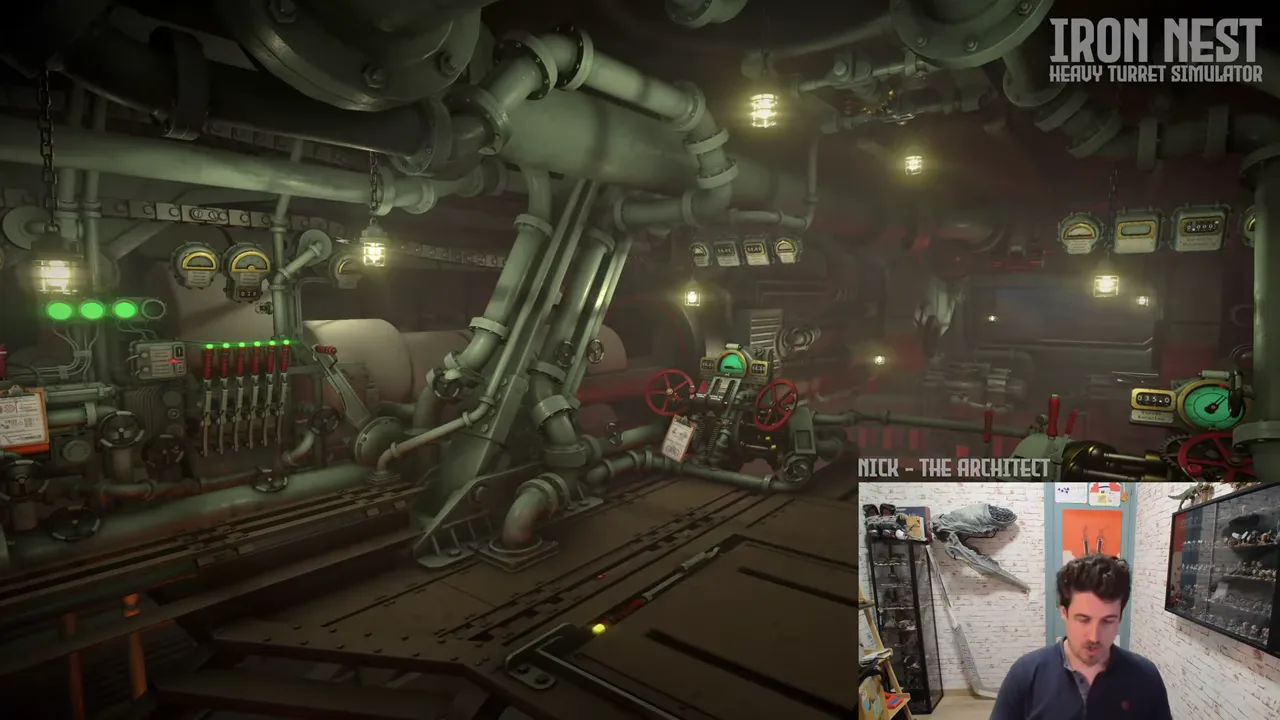
A new shell name requires a new verified machine state.
Changing ammunition in IRON NEST is not a one-click inventory decision. Shell identity appears on task cards and as an explicit calculator state. Charge and elevation must match. The loader and the selected gun retain physical state. A multi-stage objective can change while old numbers remain on the desk.
That combination creates a dangerous failure mode: the operator believes the new shell is selected while one part of the machine still belongs to the previous solution. This checklist synchronizes the order, map, calculator, ammunition, loader and guns before the next shot.
The current official descriptions confirm that every shell is forged for a purpose and explicitly warn operators to match elevation with the exact propellant charge. Official task-card footage shows different charge patterns and angles for PGAS, TGAS, SMK, AP, STAR and HCHE. Those sources support the procedure without requiring an invented universal ballistics table.
1. Freeze the current operation state
Before touching a selector, record what is true now:
- current objective and target identifier;
- target location, range and bearing;
- shell label selected for each gun;
- propellant charge;
- elevation and traverse;
- loading-cycle and readiness indicators;
- reason for changing ammunition.
This snapshot distinguishes intended state from actual state. It also gives you a recovery point if the new objective is cancelled or the mechanism refuses the change.
Do not rely on memory. A stale value is most dangerous when it looks reasonable for the new target.
2. Identify what triggered the change
Common triggers include a new target effect, a secondary objective, corrected intelligence, depleted ammunition or an operator mistake. Write the trigger beside the new shell label.
If the order changes from a smoke screen to bunker breaching, the purpose clearly changes from SMK to AP. If only the target coordinate changes, ammunition may remain appropriate while range and bearing change. If only the shell changes at the same target, the map position may remain valid while charge and elevation change.
Separating those cases prevents unnecessary rework without preserving invalid settings.
3. Archive the old solution
Mark the previous card complete, cancelled or invalid. Move it out of the active position if the interface permits. Do not erase evidence until the outcome is understood, but do not leave two unlabelled elevation values competing for attention.
Use a simple naming convention such as Target A — SMK — fired and Target A — AP — preparing. The label is as important as the number.
Official footage shows multiple cards around one shared bearing-and-range sheet. That layout makes disciplined labels essential. The task-card taxonomy explains the visible card structure.
4. Confirm the new target point
Ammunition change does not always mean target change, but never assume. Re-read the directive and frontline report. Verify whether the shell should land at the primary target, a screen point, an observer-derived intersection or another supporting location.
If the target changes, rebuild or relabel the construction on the tactical map. Measure range and bearing from the current Iron Nest position. If the turret has relocated, every old turret-to-target range and bearing is suspect even when the world target remains fixed.
Use the tactical map guide for bearings, range arcs and observer intersections.
5. Set the shell type explicitly
At the calculator or relevant station, verify the shell-type field. The official launch trailer shows this field displaying EMPTY when no shell is selected. Empty is not a valid firing solution, and a previous label is not the new shell.
Select the exact current-build label supplied by the task or inventory. Do not substitute a historical name or expand an abbreviation based only on expectation. PGAS, TGAS, SMK, AP, STAR and HCHE are visually documented labels; their detailed behavior belongs to separate verified references.
Read the selected label back before entering other values.
6. Recalculate charge and elevation as a pair
Enter the verified range using the new shell type. Select or calculate the required charge, then obtain the matching elevation. If the new shell cannot use the old charge or the displayed range falls outside a valid state, stop and revisit the inputs.
Never preserve elevation while casually changing charge. The official product description explicitly links them, and the charge–elevation guide explains why the pair defines the trajectory.
The developer discussed shell weight as a possible calculator input before release, while noting that the design was evolving. The safe version 1.0 habit is to trust the current shell-specific interface, not to assume weight rules from an old statement.
7. Verify the physical ammunition
The clipboard can be correct while the loader is wrong. Inspect the selected ammunition, magazine or delivery mechanism and confirm the label through the current interface. Complete any unload, clear or reset procedure taught by the build before inserting a different shell.
Do not invent a real-world unload procedure. IRON NEST’s fictional machinery and interlocks define the safe sequence. If a lever refuses to move, inspect readiness lamps and unfinished cycle states rather than forcing random controls.
The page image shows why this is a multi-station problem: indicators, loader components, walkways and gun controls occupy separate parts of the same machine.
8. Match charge to the loaded gun
Confirm that the physical propellant setting belongs to the same gun and shell as the written solution. In a twin-gun system, left and right states must be checked independently.
A correct AP charge on the left does not prove the right gun is configured for AP. A gun loaded with SMK does not become AP because the calculator changed. Record side, shell, charge and readiness together.
If only one gun is needed, avoid treating the other gun’s indicators as confirmation for the active side.
9. Reapply bearing and elevation
Set traverse from the new turret-to-target bearing. Set elevation from the new shell-specific solution. Approach the marks carefully and confirm the final indication after the machinery settles.
If the target point did not change, bearing may remain the same, but verify it rather than copying it blindly. Turret movement, an emergency reposition or a different coordinate origin invalidates that shortcut.
Read back: target, shell, charge, elevation, bearing and gun side.
10. Perform an independent pre-fire checksum
Pause before the trigger and compare information across stations:
| Check | Question |
|---|---|
| Order | Is this still the active objective? |
| Map | Is the marked point the intended shell location? |
| Shell type | Does the calculator label match the physical round? |
| Charge | Does it match the selected shell and elevation? |
| Gun | Are settings applied to the gun that is loaded? |
| Traverse | Is the bearing measured from the current turret position? |
| Readiness | Is the loading cycle complete? |
This check is fast because each line has one purpose. It is not redundant: it catches mismatches created during the change.
11. Record the actual fired state
Immediately before or after firing, record what the machine actually displayed. Do not “correct” the notes to what you meant to set. Diagnosis requires the real state.
Preserve target, shell label, charge, elevation, bearing, gun and time. When aerial reconnaissance or a report arrives, connect that evidence to the shot record.
If the impact is wrong, use why firing solutions miss to separate target, range, bearing, shell, charge, elevation and mechanical errors.
12. Change one uncertain variable at a time
After a miss, do not immediately change shell, target plot, charge and elevation together. Determine whether the error is spatial or effect-related.
A left/right miss points toward plot, bearing or traverse. A short/long miss points toward range, shell data, charge or elevation. A hit at the intended location without the required result may indicate wrong ammunition purpose or another objective condition.
One controlled correction makes the next shot informative. Multiple simultaneous guesses destroy the evidence created by firing.
Multi-stage and counter-battery exceptions
Under counter-battery pressure, the operator may not have time for an leisurely reset, but relocation makes verification more important. Emergency repositioning can leave the new location initially unknown according to pre-release developer discussion. Re-establish position before reusing any range or bearing.
In a multi-stage mission, reserve ammunition and record the loader state before accepting a secondary task. A supporting smoke shot can leave the gun configured incorrectly for the primary AP objective unless the change-back is planned.
The primary and secondary objectives guide explains how switching cost affects priority.
Compact shell-change card
For routine use, reduce the full process to eight verbs:
- Record the old state.
- Label the new objective and shell.
- Verify the target point.
- Select the explicit shell type.
- Recalculate charge and elevation.
- Synchronize loader, gun and controls.
- Checksum target, shell, charge, elevation and bearing.
- Preserve the actual fired state and outcome.
The detailed sections explain why each verb exists. Once internalized, the card prevents most cross-contamination errors without slowing a practiced operator.
The dependable conclusion
Official IRON NEST material treats ammunition as purpose-specific and shows shell type, charge and angular settings as distinct operating states. A shell change therefore requires more than selecting a new name.
Freeze and archive the old solution, confirm the target, set the new shell explicitly, recalculate charge and elevation, synchronize the physical loader and correct gun, reapply bearing, run an independent checksum and record the actual shot. That discipline turns a complicated machine into a traceable system—and turns a miss into evidence rather than mystery.