Why Your IRON NEST Firing Solution Misses
A systematic troubleshooting guide for finding errors in target location, bearing, range, powder charge, elevation, shell choice and gun setup.
A miss in IRON NEST: Heavy Turret Simulator is usually best treated as a broken chain, not as a demand for random correction. The target report, tactical map, ballistic calculator and gun controls describe one solution in different forms. If any value changes identity while moving between those stations, the shell can land somewhere perfectly consistent with the wrong information.
The fastest reliable response is therefore to trace the shot backward. Do not immediately add elevation, spin the turret a little and try again. First establish whether the error came from target location, turret-relative measurement, calculator inputs, data transfer or physical execution. Change one stage at a time and preserve the last known values.
This guide combines documented mechanics with general diagnostic reasoning. The official store page and developer Q&A establish the roles of reconnaissance, bearing, range, powder charge and elevation. The ordered checks below are our editorial troubleshooting method, not a claim that version 1.0 exposes a hidden error code for each kind of miss.
1. Verify that you solved the right target
Begin with the original directive or frontline report. Confirm the objective, target label and any reference point named in the message. When several reports are present, it is easy to combine a bearing from one target with a range from another. Both numbers may look plausible, and the resulting marker may still fall inside the battlefield, but it will not represent either report correctly.
Check every copied digit. Coordinate pairs are vulnerable to transposition. A bearing can lose a leading zero. A handwritten note can be associated with the wrong observer. If the game supplies a photograph or later report, make sure it belongs to the same operation and is not evidence from a previous shot.
Do this before adjusting the gun. Ballistics only answer how to reach a selected point. They cannot tell you whether that point is the intended objective.
2. Rebuild the target location from the correct origin
In the developer’s explanation of mathematical missions, forward observers can provide bearings or ranges that let the operator locate a target. Every such value has an origin. A bearing reported from Spotter Alpha must be drawn from Alpha’s position, not from the turret or from Spotter Bravo. A distance reported by one observer must constrain the line or area around that same observer.
When two observations are used, build them independently. Draw or align the first relationship, then construct the second from its own reference point. Their intersection or overlap identifies the target area. If they refuse to meet cleanly, recheck units, direction and transcription before choosing a convenient midpoint.
The Q&A also discussed uncertainty in observations and the idea of a probable target zone. That means a slightly untidy intersection is not automatically a user error. However, uncertainty should be considered only after the exact given data has been represented correctly.
3. Measure from the turret, not from the spotter
Once reconnaissance locates a target, the firing problem gets a new origin: the IRON NEST turret. The observer-to-target distance helped establish location. The gun needs turret-to-target range and direction.
This is one of the most important conceptual checks because both values may be called “range” in ordinary conversation. Write down what each number connects. A useful note reads “Turret to Target 7: 5.19 km,” not simply “5.19.” The label prevents a reconnaissance value from being fed into the ballistic calculator.
Movement makes this check mandatory. If the turret has repositioned, every range and bearing measured from the previous location is obsolete even when the target has not moved. Re-establish the turret’s position, then repeat the measurement.
4. Separate bearing from elevation
Bearing turns the weapon horizontally toward the target. Elevation raises or lowers the barrels to obtain the required trajectory. The values solve different axes and should be diagnosed separately.
If a shot lands at approximately the correct distance but clearly to one side, start with bearing, origin and horizontal transfer. If it travels along the intended direction but falls consistently short or long, inspect range, powder charge and elevation. This pattern is a diagnostic clue rather than an infallible rule: a bad target location can produce error on both axes, and perspective may make an impact difficult to read.
Never correct the wrong axis merely because its wheel is convenient. A horizontal error is not repaired by adding propellant, and a range error is not repaired by sweeping the turret sideways until something explodes.
5. Audit the ballistic-calculator inputs
The developer’s pre-release Q&A described a calculator that uses target range and powder charge to provide gun elevation, with bearing and target-related fields in the interface. The version 1.0 store page likewise tells players to work the calculator toward a firing solution and match elevation with exact propellant charge.
Check the displayed distance against the map note digit by digit. Confirm the unit and decimal placement. Then check the selected number of powder charges. The elevation is not a universal answer for that target; it is the answer for that range-and-charge combination. Changing the charge after calculating requires a new elevation.
Preserve the result before leaving the station. If two guns or multiple target solutions are being managed, label the elevation with its target and charge. A bare angle on a page quickly becomes ambiguous.
The Q&A mentioned possible shell-weight and wind inputs while they were still under consideration. That is not proof those variables shipped in the described form. Do not invent corrections from real-world artillery tables unless the released mission or interface explicitly asks for them.
6. Confirm shell and charge at the loading stage
A technically correct trajectory can still be operationally wrong. The official description distinguishes ammunition by purpose: armor-piercing rounds breach bunkers, smoke can screen withdrawals, and other shells produce other effects. Hitting the location with the wrong shell may fail the objective even when the impact point is accurate.
Verify the loaded shell type against the mission, then verify the actual propellant charge against the calculator input. Do not rely on intention. Look at the controls or indicators that represent the physical state of the gun.
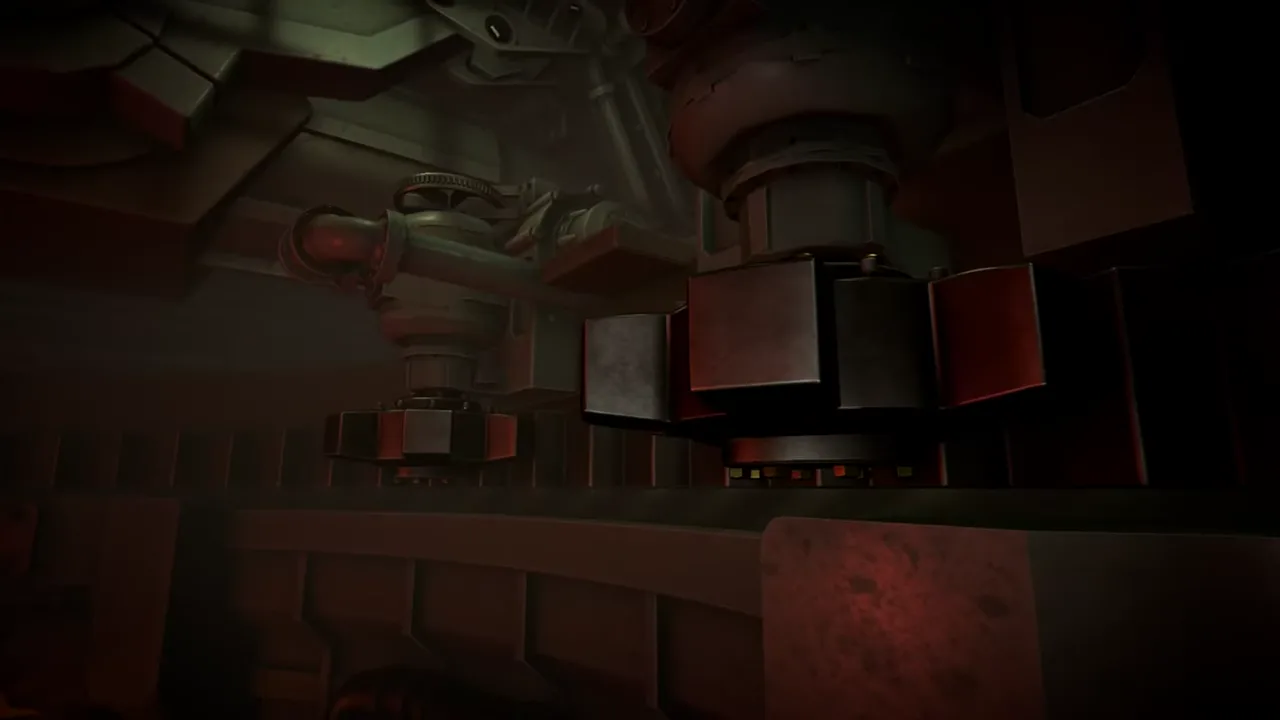
The frame above emphasizes why this matters. The gun is a large mechanical system, not a spreadsheet. Breeches, loading assemblies and elevation mechanisms must embody the numbers calculated elsewhere. The shot follows the machine’s state, not the operator’s memory of what that state should be.
7. Check transfer to the gun controls
Return to bearing and elevation at the laying station. Compare each control with the written solution. Watch for swapped left and right gun values, a wheel stopped one division early or a previous target’s setting that was never cleared.
Read the instrument from the correct scale and angle. Analogue displays can invite parallax or digit-reading mistakes, especially during rapid movement. Stop long enough to let the mechanism settle before treating the displayed value as final.
If the turret takes time to rotate, use that interval to verify the rest of the chain rather than repeatedly nudging the bearing. The official store page explicitly frames rotation time as something skilled operators can use for other tasks. A stable target value is more useful than a wheel constantly corrected from memory.
8. Verify readiness immediately before firing
Perform a final callout, even when playing alone: target, bearing, range, shell, charge, elevation. The point is not role-play; it forces each physical setting to be associated with the same solution one last time.
Confirm that the intended gun is ready and that no maintenance or mechanical state prevents normal execution. The official description warns that the machine may fail. A failure indicator should be investigated as a machine-state problem before the map calculation is discarded.
Then fire once and preserve the configuration until evidence arrives. Rapidly changing controls after the shot destroys useful diagnostic information.
Reading the result without overcorrecting
Use the best feedback available: visible impact, aerial photograph, frontline message or objective update. Ask whether the error is directional, longitudinal, functional or informational. Directional error suggests bearing. Short or long travel suggests the range–charge–elevation group. A hit with the wrong effect suggests ammunition. No clear evidence means you may not yet have enough information to diagnose.
When correcting, change the earliest demonstrably wrong step. If the target marker was wrong, rebuild every later measurement. If the map is correct but the calculator distance was transposed, recalculate and re-lay elevation. If only the gun bearing was transferred incorrectly, preserve the rest of the solution and fix that value.
Avoid “walking” fire by intuition unless the mission specifically supports it. A lucky second hit can hide the original error and teach a procedure that fails on the next target.
A compact pre-fire checklist
Use this sequence when the pressure rises:
- Source: correct objective, report and observer.
- Plot: correct origin, bearing, range and target marker.
- Measure: new bearing and range from the turret.
- Calculate: correct distance and chosen powder charge produce elevation.
- Load: intended shell and the same charge used in calculation.
- Lay: bearing and elevation transferred to the correct gun controls.
- Ready: mechanism settled, no unresolved failure, intended gun selected.
- Observe: preserve settings until impact evidence is understood.
The checklist is deliberately repetitive because IRON NEST’s challenge lives in handoffs. Each station can be correct on its own while the operation is wrong as a whole. Reliable operators do not eliminate complexity by guessing faster. They make the chain inspectable, find the first broken link and correct it without discarding everything that was already right.
Frequently asked questions
What should I check first after a miss?
Confirm that the target was located from the correct report and origin before changing elevation. A calculation cannot correct a target marker placed from the wrong observer, bearing or range.
Can a correct elevation still produce a miss?
Yes. The elevation only belongs to the range and powder charge used to calculate it. A wrong bearing, different charge, incorrect shell setup or bad transfer to the gun can invalidate an otherwise correct elevation.
Does wind cause misses in IRON NEST?
The pre-release developer Q&A said wind was being considered, not that it was a finished variable. Do not diagnose wind before verifying the documented inputs and checking the behavior in version 1.0.