IRON NEST Ballistic Calculator Mistakes: Diagnose the Inputs First
A structured way to debug an IRON NEST firing solution when the calculator result looks plausible but the shot or next station is wrong.
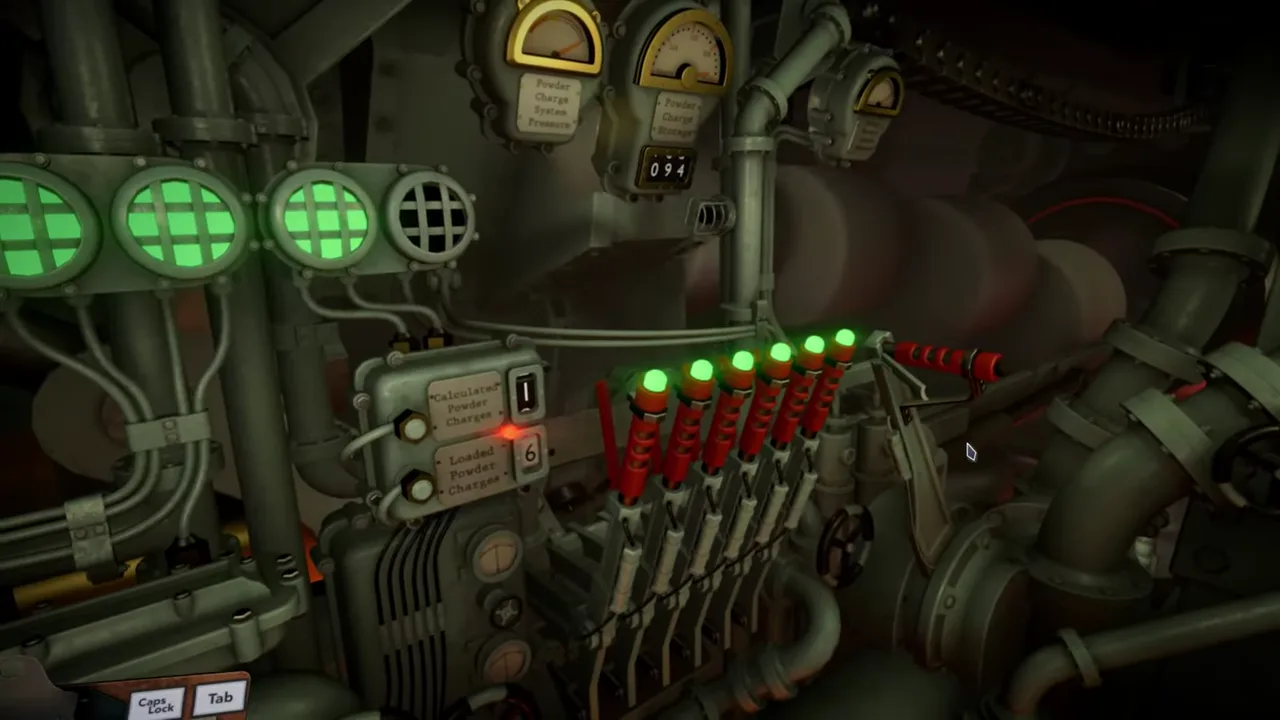
IRON NEST’s ballistic calculator is meant to turn a measured problem into a firing solution. The official store page describes a direct relationship between charge and trajectory: higher charges send shells farther, while lower charges can arc them into enemy positions; it also tells the player to match elevation with the exact propellant charge. That makes the calculator important, but it does not make it omniscient.
A calculator can return a coherent value for the wrong question. If the target was plotted from the wrong observer, if the Iron Nest moved, if the range came from an old marker, or if the active ammunition state differs from your note, a precise-looking answer can lead to a wrong shot. This guide diagnoses that chain from input to execution instead of encouraging random charge changes.
Begin by naming the symptom
Do not start with “the calculator is broken.” State what happened. Did the calculator reject an input? Did it produce an output that did not match the next station? Did the gun accept the values but miss? Did an objective fail to advance? Did you discover after firing that you had selected a different shell than intended?
These outcomes occur at different layers. A rejected value may be a current interface or state issue. A coherent but inaccurate output suggests target, range or state provenance. A shot that lands off target may involve the calculator inputs, turret orientation, elevation execution or target movement. An objective that does not advance may be a mission condition rather than a ballistic error.
Write down the mission context, target label, displayed turret position, selected ammunition, entered range, selected charge, calculator output and gun readouts. A short record is much more useful than trying to reconstruct the sequence after you have changed every setting.
Verify the target before verifying the calculator
The calculator needs a range. It does not establish the target point for you. The official description says the interactive map transforms intelligence reports into a battle plan, and the tactical map reference explains why reported bearings and distances are source-relative.
Return to the map. Ask whether the target was an explicit coordinate, a bearing intersection, a distance construction or a mission marker. Confirm that every bearing begins at the observer who supplied it. Confirm that every distance is centered on its stated source. If two candidate intersections existed, identify why you selected one. If a report changed, rebuild the target instead of revising a later number to make an old point fit.
The most common false confidence comes from a neat map line drawn from the turret when the report actually originated somewhere else. The calculator cannot tell that the geometry began at the wrong point.
Re-establish the current gun origin
Once the target point is reliable, locate the current Iron Nest position. Range and bearing are measured from the gun to the target, not from the observer and not from an earlier gun location. A world target may remain fixed while a position change makes all old gun-relative values obsolete.
This is especially important when a mission creates pressure, a map marker looks familiar or a player has carried notes between attempts. Reuse the target only after verifying it still refers to the same object; then remeasure range and bearing from the current turret marker. The counter-battery and repositioning guide gives the wider movement caveat.
Do not compensate for an old range by increasing charge. That creates an untraceable solution and may appear to work once by coincidence. A fresh measurement is faster than guessing.
Check range formatting and units from the live interface
Use the format the current calculator requests. Do not import a decimal convention, distance unit or rounding rule from a different game, an old screenshot or a real artillery manual. The official public material establishes a calculation workflow, not a universal published input schema.
Copy the measured value slowly. Read it back against the map. If the interface displays an accepted value, confirm that it matches your note rather than merely assuming the keypress registered. If it rounds or constrains a value, record the displayed result. The allowed precision belongs to the game interface, and working beyond it can produce invented detail rather than accuracy.
If you suspect a transcription error, repeat the map measurement before altering any calculator field. Change one input at a time and note the new output. This creates a simple audit trail: a different range should produce a different relationship, while a changed charge should be intentional and visible.
Confirm ammunition state before charge and elevation
The official listing names AP rounds, smoke and phosgene examples, while first-party video reveals additional labels in a pre-release context. The calculator itself visibly includes shell type as an explicit state in official footage. That makes ammunition identity part of the solution, not merely an inventory story.
Before accepting a calculator result, confirm the active ammunition or task-card state in the current interface. Compare it with the objective and your written note. Do not assume that a shell left in a previous mission remains relevant, and do not use a historical shell name to fill an empty field. The ammunition evidence status reference explains why names and effects have different evidence levels.
Only after shell state and range are clean should you set or evaluate charge. The store page’s charge language supports a basic direction-of-travel claim, not a public table of every shell’s range bands. Let the calculator and current prompt govern exact values.
Treat elevation as a separate execution check
A correct calculator output still has to be transferred to the gun. The official text explicitly asks the player to match elevation with the exact propellant charge and warns that precision matters. Horizontal bearing and vertical elevation are not one setting. Keep them on separate lines in your notes.
At the gun, compare the visible elevation readout with the calculator output. Then compare the horizontal orientation with the bearing measured from the current turret position. If the game exposes separate left and right counters or other detailed states, follow the active mission and interface rather than assuming both always share an input.
If a shot is correct in distance but wrong sideways, revisit target construction, bearing or traverse. If it is aligned laterally but long or short, revisit range, shell, charge and elevation. This distinction does not identify every possible game mechanic, but it prevents blind adjustment of both axes at once.
Use outcome evidence without overreading it
The official store page says aerial photos reveal the outcome of actions and that scars remain on the map. Use this feedback to compare the expected point with the visible result. Preserve the solution you fired so the photo can be associated with a particular target construction and gun state.
Do not treat one mark as a full diagnostic engine. Aerial presentation may show an outcome without exposing every damage, terrain or timing variable. If the result is surprising, return to the earliest uncertain handoff. Recheck the report, map origin, current turret position and input state before inventing a hidden wind, armor or terrain modifier.
A calculator recovery card
When a result looks wrong, pause and run this card:
- Read the latest objective and source messages again.
- Rebuild or confirm the target point from source-relative information.
- Verify the current Iron Nest marker.
- Remeasure range and bearing from the gun to the target.
- Check the active shell or task-card state.
- Enter the live-interface range carefully and record the displayed value.
- Set the intended charge and copy the calculator output.
- Match elevation and traverse separately at the gun.
- Record the outcome before changing the solution.
This is slower than guessing once and much faster than guessing five times.
The dependable conclusion
IRON NEST confirms a calculator-centered charge and elevation workflow, but no calculator can correct a false target, stale turret origin or wrong shell state. Diagnose a suspicious solution upstream: source report, plotted target, current position, range, ammunition, charge and elevation.
Use the current interface for formats and exact values, and preserve the state you actually fired. The calculator is most dependable when it receives a clean question—and most misleading when it provides a precise answer to the wrong one.
Frequently asked questions
The calculator gave me a result. Why did the shot still miss?
A valid output can still be based on stale or incorrectly derived inputs. Check target construction, current turret position, range, ammunition state, charge and elevation in that order.
Should I adjust charge until the result looks right?
Not before validating the range and active shell state. Changing a downstream setting can conceal an upstream map or transcription error.