IRON NEST Controls and Interface: A Safe Learning Map
A source-led orientation to IRON NEST's physical control surfaces, information displays and handoffs—without inventing keybinds or claiming a universal controller layout.
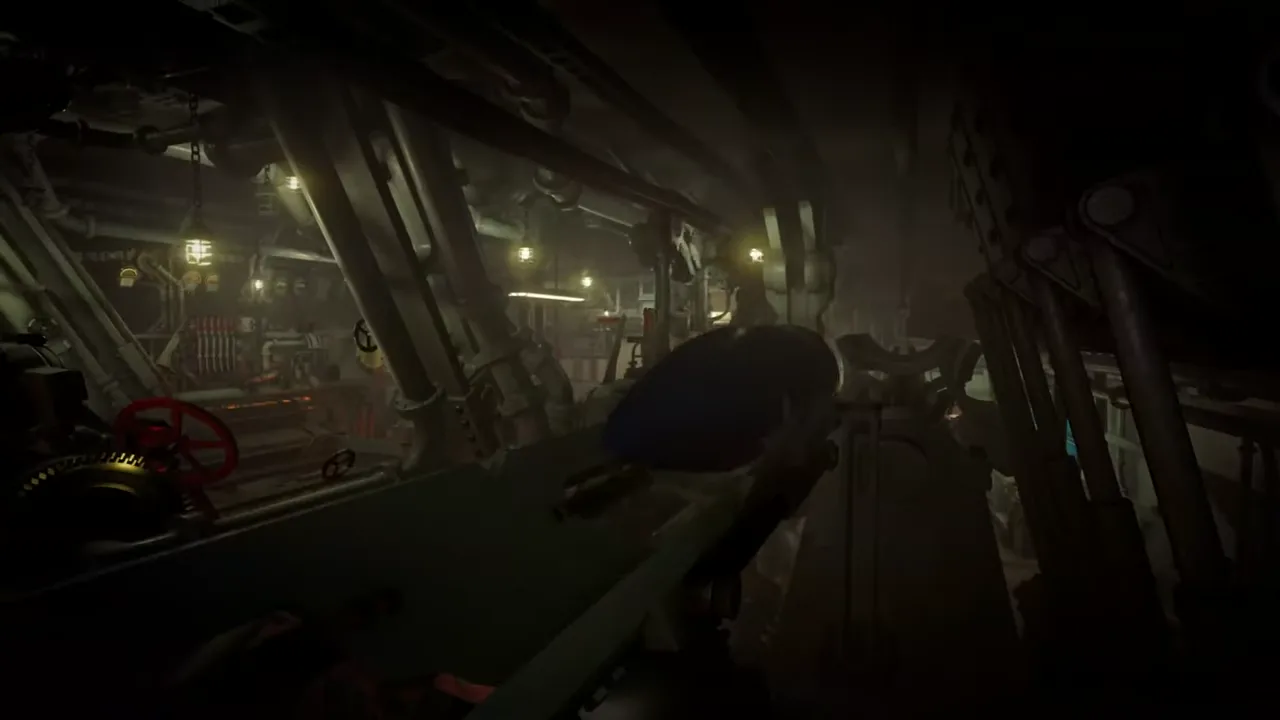
IRON NEST is deliberately built around controls that look and feel like parts of a machine. The official store description speaks of levers, dials, powder charges, elevation wheels, heavy rotation and a trigger that moves thousands of tons of machinery. That presentation can make a new operator feel as though they need to memorize a cockpit before the first shot. They do not.
The safest way to learn the interface is to organize it by handoff, not by a guessed list of keybinds. Information arrives at one place, becomes a plotted target at another, becomes numerical output at another, then becomes a physical setting. Public sources confirm that chain. Exact keyboard bindings, controller mapping, interaction prompts and menu labels belong to the current build and should be read there, because they can vary by platform, layout and update.
Start with the information stations
The official description identifies two teleprinters. One delivers top-priority directives from High Command; the other relays direct calls from the frontline. Their job is not to move the gun. Their job is to tell you what needs attention and give you constraints that must be interpreted correctly.
Before touching a large wheel or lever, read the message all the way through. Mark the sender, objective, target information and any stated ammunition or timing requirement. A bearing, distance or coordinate is only meaningful in relation to the source that supplied it. Copy it accurately; a physical control cannot repair a number that was transcribed from the wrong line.
The teleprinter system covers this provenance in detail. Treat the teleprinter as the beginning of a workflow rather than a flavor prop.
The map is the translation desk
The tactical map converts report-relative information into a target point and then gives gun-relative range and bearing. The official page calls it interactive and says it is used for battle planning; it also remains a visual record through aerial photos and scars. This means the map has two jobs: solve the present problem and help inspect the result.
At the map, identify three separate things: the reporting source, the target candidate and the current Iron Nest position. Plot a bearing from its observer, not automatically from the turret. Apply a distance around its stated center. Only after the target point is accepted should you measure range and bearing from the gun.
The control lesson here is conceptual. Do not search for the “fire” input while your information is unresolved. Use the map tools that the current interface presents, label temporary constructions if possible and keep the target separate from the turret origin. See reading the tactical map for a procedural walkthrough.
The calculator accepts a clean question
The official text says the ballistic calculator works toward firing solutions and explicitly connects charge with trajectory: more charge sends a shell farther; less can arc it deliberately. This describes a handoff from the map, not a magic answer button.
Bring the calculator a current, verified range and the relevant ammunition state. Read its fields as they appear in the version you are playing. The exact visual labels and sequence can change, so this guide does not invent a static keybind chart or numerical table. The ballistic calculator system explains the evidence boundary and why an accurate calculation cannot fix an inaccurate map origin.
When the calculator produces an elevation-related output, write it down beside the range, charge and shell state. Do not rely on memory while walking to another station. The physical separation is part of the game’s tension, and a short note prevents a correct result from being lost in transit.
The gun controls execute—not decide
The store page describes hauling the elevation wheel, matching elevation with propellant charge, and dragging a heavy lever to rotate the mechanism. These actions are the execution end of the chain. They are not substitutes for target identification or calculator work.
At the laying station, distinguish horizontal bearing from vertical elevation. A correct range can still be paired with a wrong lateral orientation; a correct bearing can still be paired with an incorrect elevation. Confirm each recorded output against the current readout before firing. The turret traverse reference discusses the importance of time and manual alignment without claiming undocumented turn rates.
If the game presents separate controls for multiple barrels or guns, follow the current visible prompts and mission requirements. Do not assume that a trailer shot proves a universal multiplayer-gun control rule. Record what the build actually asks you to set.
Treat physical objects as feedback
IRON NEST’s official language emphasizes that every lever, dial and shot is under player control. The interface is therefore designed to make state visible through objects, counters, documents and movement. Use that feedback actively.
Before firing, pause at each state boundary: source message, map target, range, bearing, ammunition selection, charge, elevation and final orientation. If an object shows a value that disagrees with your note, do not average the two. Return to the previous handoff and determine which source changed. This is faster than firing a precise shot based on inconsistent inputs.
After firing, use the map and aerial evidence to compare expectation with outcome. The store page says the scars remain. That supports a feedback habit: preserve what you meant to do, then look at what happened. It does not guarantee a complete physics reconstruction or a specific crater model.
Keybinds and controller layouts: verify locally
An exact binding is a fragile claim. It can differ among keyboard layouts, Steam Input templates, controllers, accessibility options, platform builds and patches. A reliable wiki should not invent a list from a trailer frame or copy an old configuration screen without a version stamp.
Instead, open the current Controls or Options menu before a serious mission. Identify movement, interaction, map access, menu/back, any note-taking or zoom function, and the inputs needed to operate a current station. Change only one binding at a time and test it in a safe context. If you use a controller or Steam Deck, check focus movement and virtual keyboard behavior before the first high-pressure task.
Write down personal remaps and the date. That is useful for troubleshooting later and more honest than presenting one player’s setup as an official standard.
A first-session control drill
Use a low-stakes first session to walk the loop without rushing:
- Read a complete report and identify its sender.
- Visit the map and locate the current turret marker.
- Create or inspect a target point from the stated information.
- Record range and bearing separately.
- Visit the calculator and confirm its current inputs.
- Identify the shell, charge and elevation state demanded by the task.
- Set the physical controls using the visible readouts.
- Fire only after comparing your notes with the station states.
- Inspect the result and record one thing to check next time.
The goal is fluency, not speed. Once the handoffs are familiar, the machine’s complexity becomes a system of cross-checks rather than a wall of arbitrary buttons.
The dependable conclusion
IRON NEST’s public material confirms a physical workflow: teleprinter intelligence, map planning, ballistic calculation, ammunition and manual gun control. Learn the interface through that information-to-action chain. Use the current build for exact keybinds and controller prompts, because those details are version- and device-specific.
You do not need to memorize the whole turret at once. You need to know what each station receives, what it produces and how to verify the transfer. That is the control scheme that matters most.
Frequently asked questions
Where can I find the exact IRON NEST keybinds?
Use the current in-game Controls or Options interface. Public product text and video establish physical controls, but they do not provide a stable complete keybind table for every build and input device.
Do I need to memorize every control before playing?
No. Learn the information-to-action sequence first, then identify the station that receives each output. The game is easier when controls are tied to a purpose.