IRON NEST First-Hour Plan: Learn the Chain Before You Chase Speed
A structured first-hour plan for new IRON NEST operators: identify sources, map a target, use the calculator, verify physical controls and review an outcome without turning a first session into guesswork.
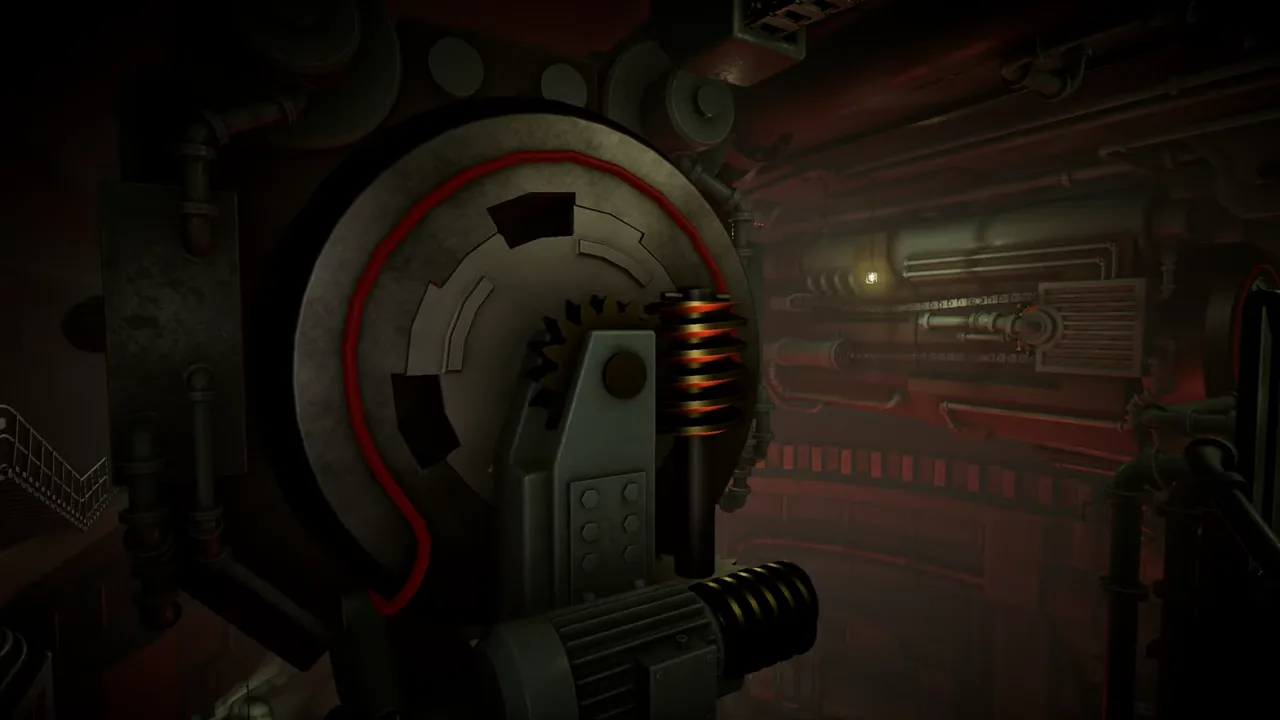
IRON NEST is easier to learn when you treat the first hour as a tour of an information chain rather than a test of reflexes. The official product description tells you the broad order: High Command and frontline teleprinters deliver information; an interactive map turns reports into a battle plan; a ballistic calculator works with charges and elevation; heavy controls lay and fire the turret; aerial photos and scars reveal consequences.
Your first goal is not a perfect score or a fast shot. It is to understand what each station receives, what it produces and how you can verify the handoff. Once that chain is familiar, the dense operator space stops feeling like a room full of unrelated machines.
Minutes 0–10: establish a learning setup
Begin in a low-pressure context if the current game offers one. Before acting, open the current controls/options interface and identify only the essentials: movement, interaction, map access, menu/back and any visible note or zoom function. Do not remap everything on day one. A default layout gives you a stable baseline for later troubleshooting.
Set up a simple note format outside the game if that suits your play style: source, objective, target, current turret position, range, bearing, shell state, charge, elevation and outcome. You do not need to fill every field immediately. The list exists so you see that a firing solution is a chain, not one number.
Read any opening message in full. Notice which teleprinter delivered it. The official store page distinguishes High Command directives from frontline calls. Record the sender before copying a coordinate, bearing or distance. This first habit prevents the most common conceptual error: treating every number as though it starts at the turret.
Minutes 10–20: learn the map’s three positions
At the tactical map, identify the report source, target candidate and current Iron Nest position. They are not synonyms. A report source is where an observation begins. A target is the point that satisfies available information. The Iron Nest position is where you measure the final gun-relative range and bearing.
If a report gives a coordinate, locate it using the current map notation. If it gives a bearing or distance, draw or use the live tools from the stated source. Do not import a convention from another artillery game or real-world manual. The current interface is the authority for its own symbols and precision.
Once a target is accepted, measure to it from the current turret marker. Write range and bearing on separate lines. Do not continue until you can explain why each line exists. The tactical map guide gives a longer walkthrough; the first-hour objective is simply to avoid confusing geometry with gun settings.
Minutes 20–30: visit the calculator with a clean question
The calculator should receive a current range and the relevant active shell state. The official page says it works toward firing solutions and connects charge choice with trajectory. That means it is not a substitute for the map; it is the next link after the map.
Enter values exactly as the live interface requests. Read displayed fields back against your note. If the calculator provides an elevation-related result, write it down with the charge and shell state used. Do not rely on memory while walking to the gun controls.
At this stage, resist the temptation to experiment with numbers until a result “looks right.” You are learning what an intentional setting looks like. A clean first solution makes later experimentation more useful because you know which input changed.
Minutes 30–40: make physical controls legible
Now visit the gun-control area. The official material describes heavy traverse and an elevation wheel. Separate horizontal bearing from vertical elevation in your mind and notes. Bearing points the turret across the map; elevation applies the calculator’s vertical setting. A correct range does not prove a correct lateral orientation, and a correct bearing does not prove a correct arc.
Use the visible prompts and readouts in the current build. This guide does not publish a static keybind table because bindings and layouts can vary by platform, device and update. Your job in the first session is to match each note to the control surface that visibly accepts it.
Before firing, pause. Confirm current target, current turret position, range, bearing, active shell, charge and elevation. If one item is unknown, return to the earlier station rather than improvising at the lever.
Minutes 40–50: fire one deliberate shot
Take one shot that you can explain from beginning to end. Do not chase a perfect score; chase a traceable result. Immediately after firing, preserve the values you actually used rather than the values you intended to use. A difference between those two is valuable information.
The official page says aerial photos reveal outcomes and markers can move while scars remain. Review whatever outcome evidence the current mission provides. Compare the visible result with your target point and objective text. If the result surprises you, do not change every setting. Ask whether the target was plotted from the correct source, whether the turret marker was current, and whether the gun state matched your note.
This turns the first shot into a lesson rather than a verdict on your ability.
Minutes 50–60: make one controlled correction
If you need a second attempt, change only one justified variable. Rebuild an uncertain target before altering charge. Recheck range before altering elevation. Confirm shell state before making a damage assumption. If the objective changed or a new report arrived, treat it as a new information event rather than a reason to force the old solution.
Then finish the hour by writing three observations: one station you understand, one handoff you need to practice and one question that the current interface did not answer. This is a better progression record than “I missed twice.” It tells you where the next session should begin.
What not to learn in the first hour
Do not try to memorize every achievement, medal, region, ammunition label, story route or challenge rule. The official listing advertises more than 100 medals, 15 regions and a combined 30 ammunition types and abilities, but it does not publish a complete player-facing sequence in the product text. A short session cannot verify them all.
Do not assume a demo or first mission represents every full-game condition. Use the full game vs demo guide for scope boundaries. Do not assume that a pre-release video frame proves exact current controls. And do not use historical artillery knowledge to override the rules the game visibly gives you.
A compact first-hour checklist
- Confirm your input device and basic interaction controls.
- Read each message and write down its source.
- Separate report origin, target point and turret position.
- Measure range and bearing only after accepting the target.
- Record calculator inputs and outputs together.
- Apply bearing and elevation at separate physical controls.
- Preserve the exact state you fire.
- Review outcome evidence against objective and target.
- Change only one justified variable on a retry.
- Leave the session with one clear practice target.
The dependable conclusion
Your first hour in IRON NEST should teach a chain: report, map, calculator, gun, outcome. The official game material supports each link, while the current interface supplies the exact prompts and values. Learn the chain before chasing speed, and every later mission will give you more useful feedback.
You do not need to be an artillery expert. You need to be an Operator who knows where information came from, where it goes next and how to check it before the machine answers.
Frequently asked questions
Should I try to be fast in my first hour?
No. First learn the state handoffs among reports, map, calculator and controls. Speed without provenance usually creates mistakes that are hard to diagnose.
Do I need outside artillery knowledge?
No. Use the conventions and prompts in the current game. The important skill is keeping the game’s own information sources and measurements separate.